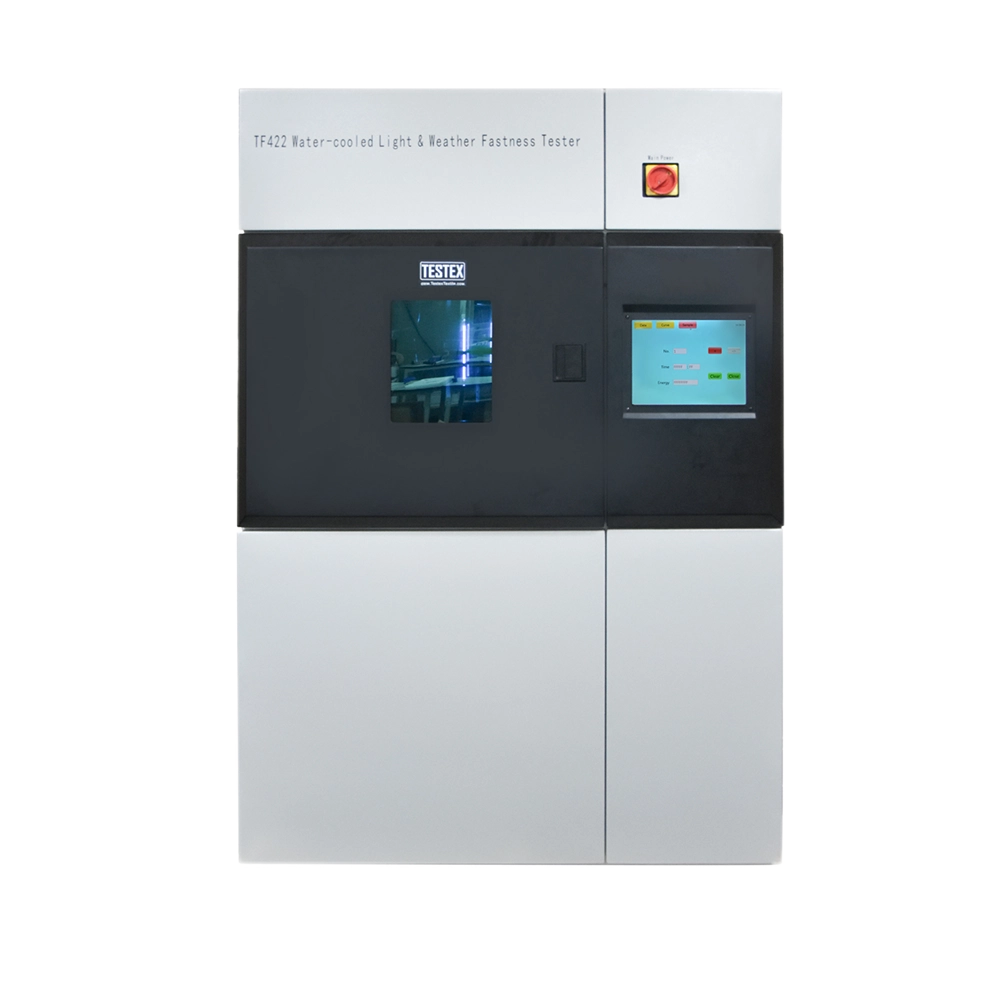
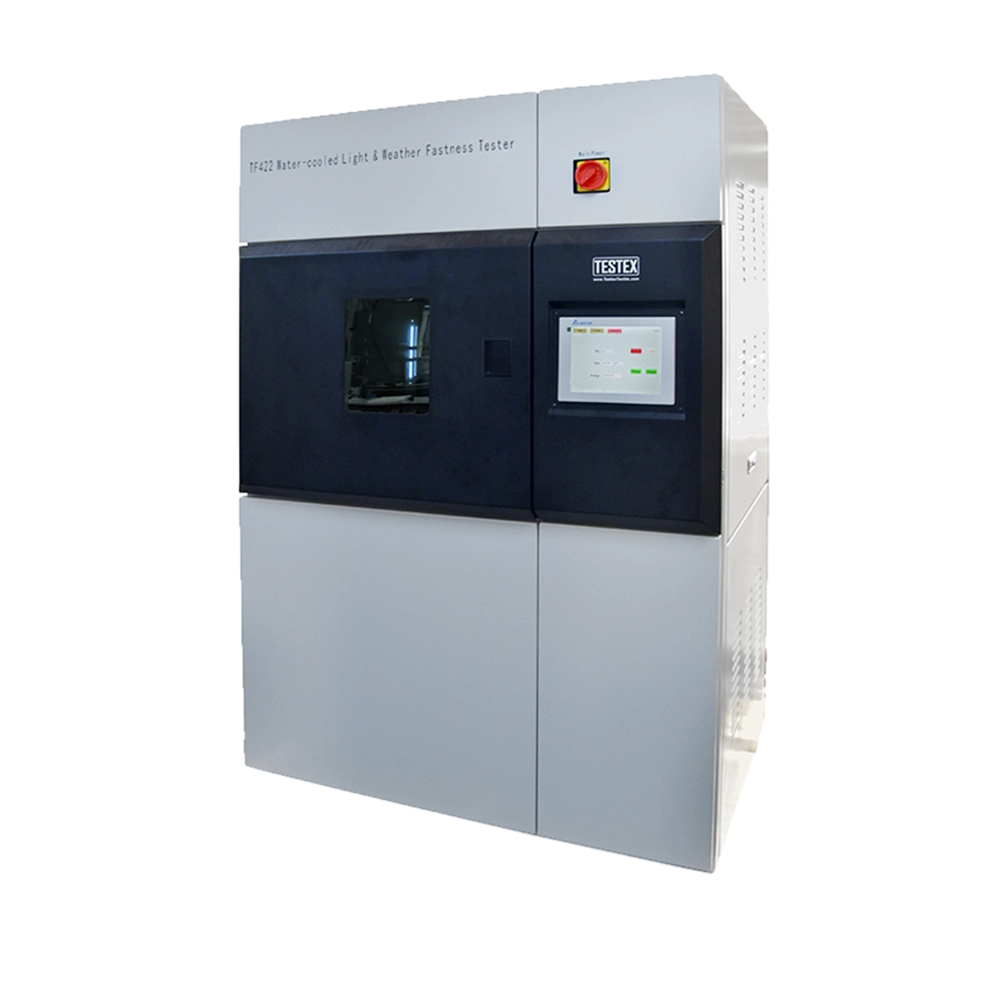
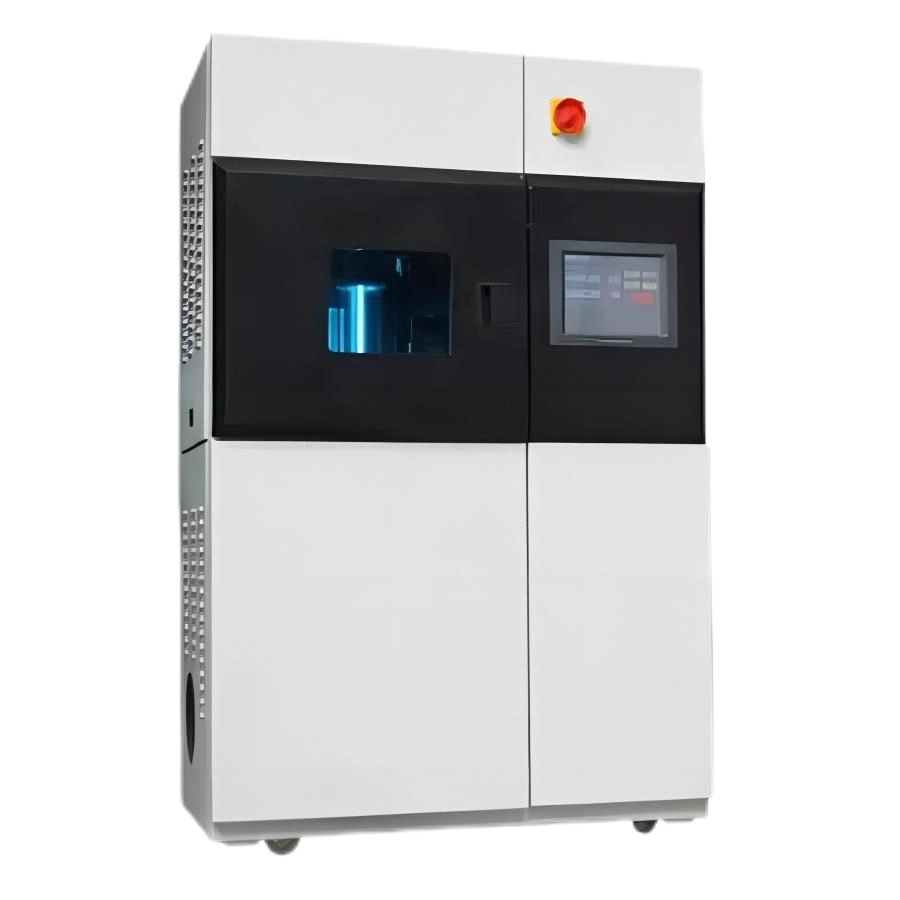
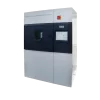
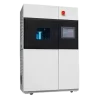
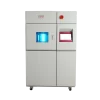
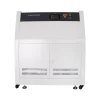
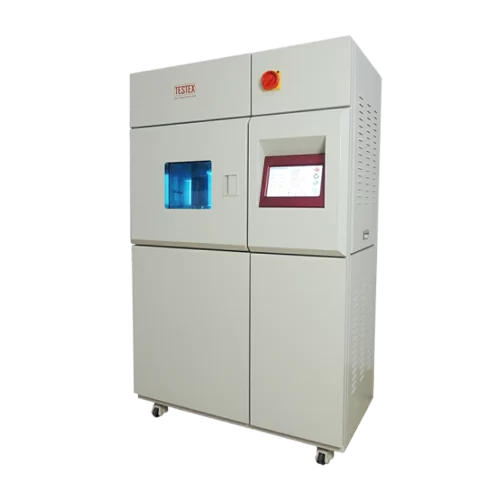
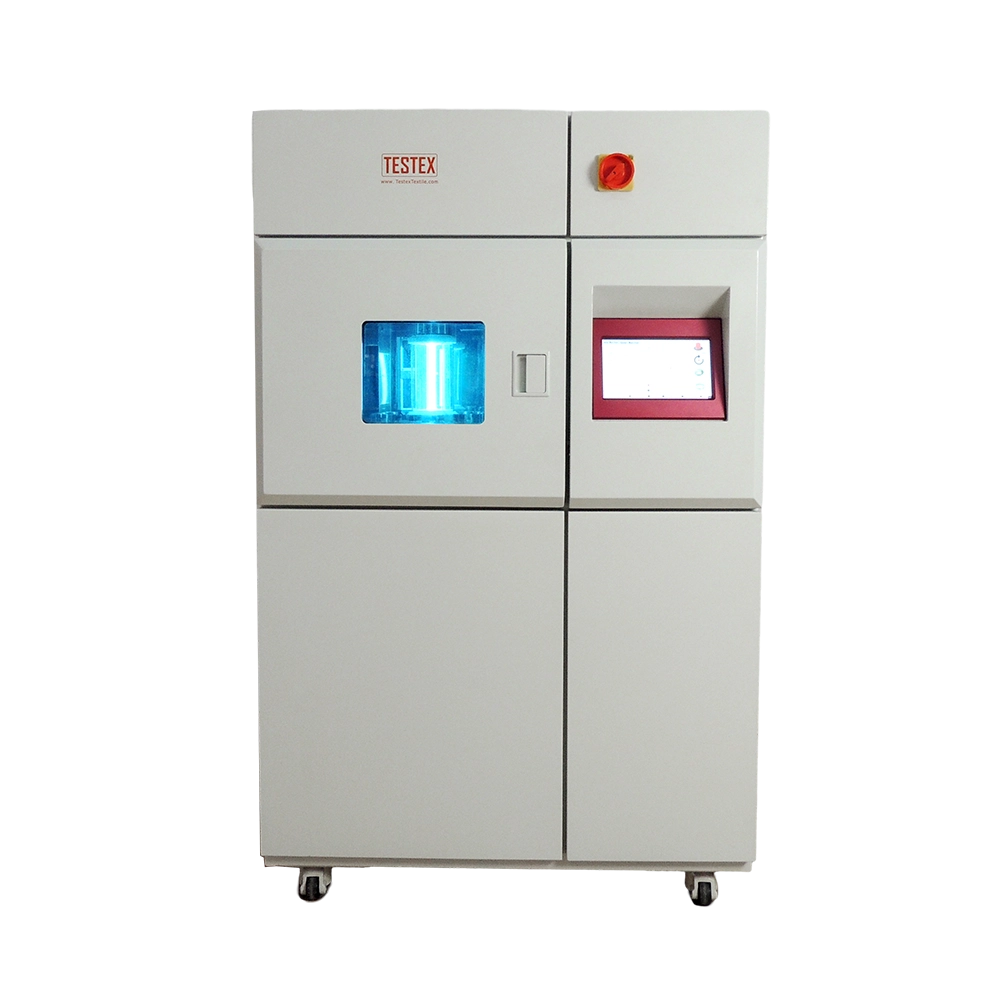
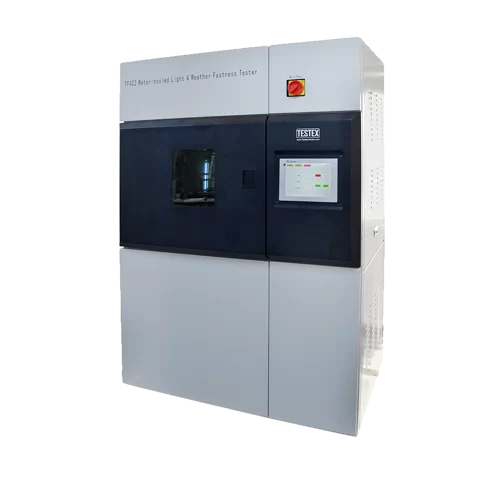
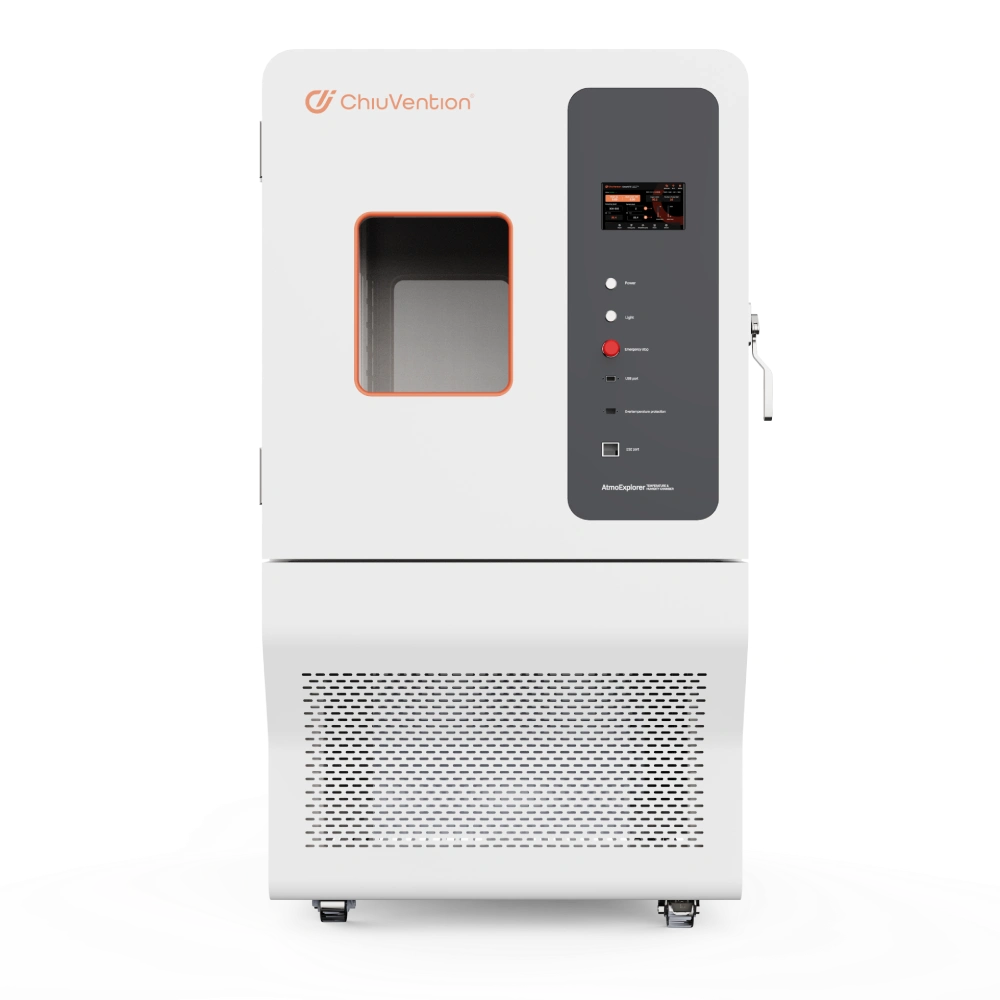
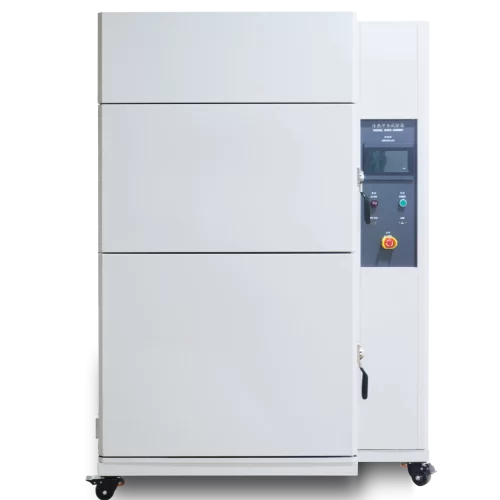
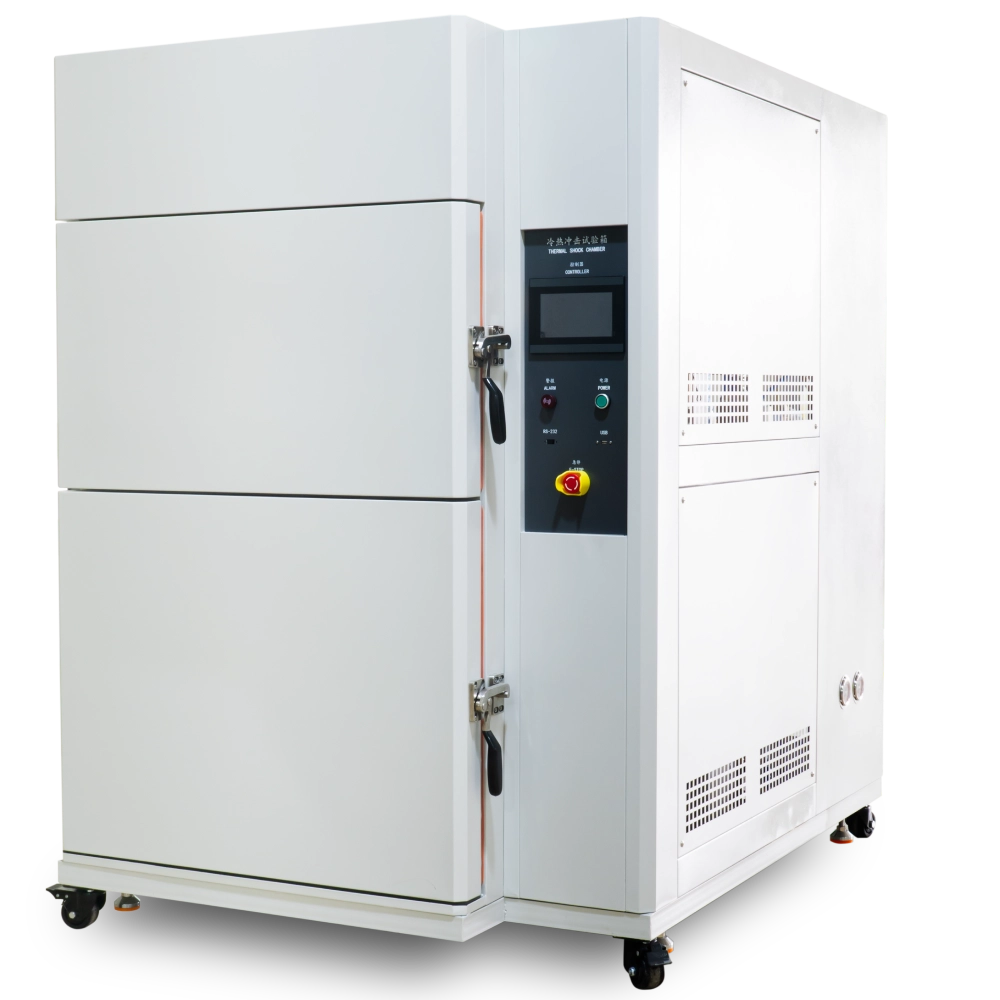
the main technical parameters of Water-cooled Light & Weather Fastness Tester:
| Blackboard Standard temperature control range: | 50~130℃, resolution 0.1℃。 |
| Blackboard panel temperature control range: | 45~125℃, resolution 0.1℃ |
| Testing chamber temperature control range: | 30~85℃, resolution 0.1℃。 |
| Testing chamber humidity control range: | 10~95%RH(Bright cycle≤70%RH,Dark cycle≤95%RH),resolution 0.1%RH。 |
| Time control of test range: | 0~9999hours59min; precision±1min。 |
| Control of irradiance range: | 0.8~2.20W/m2 @420nm,±0.02W/m2 @420nm;(@340nm,@300-400nm,@300-800nm)digital setting, automatic compensation. |
| 0.2~0.8W/ m2 @340nm ±0.01W/m2 @340nm; | |
| 30~80 W/m2 @300-400nm ±2W/m2 @300-400nm; | |
| 400~1100 W/m2 @300-800nm ±10W/m2 @300-800nm; | |
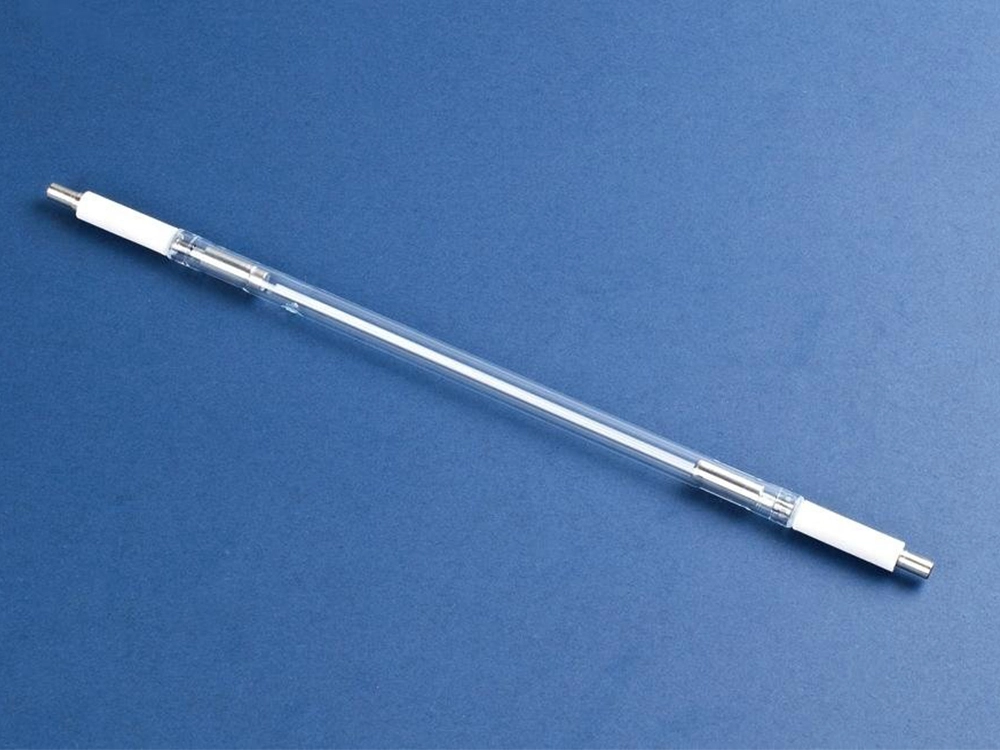
| Light source: | Rated power of xenon arc lamp: 4.5KW. |
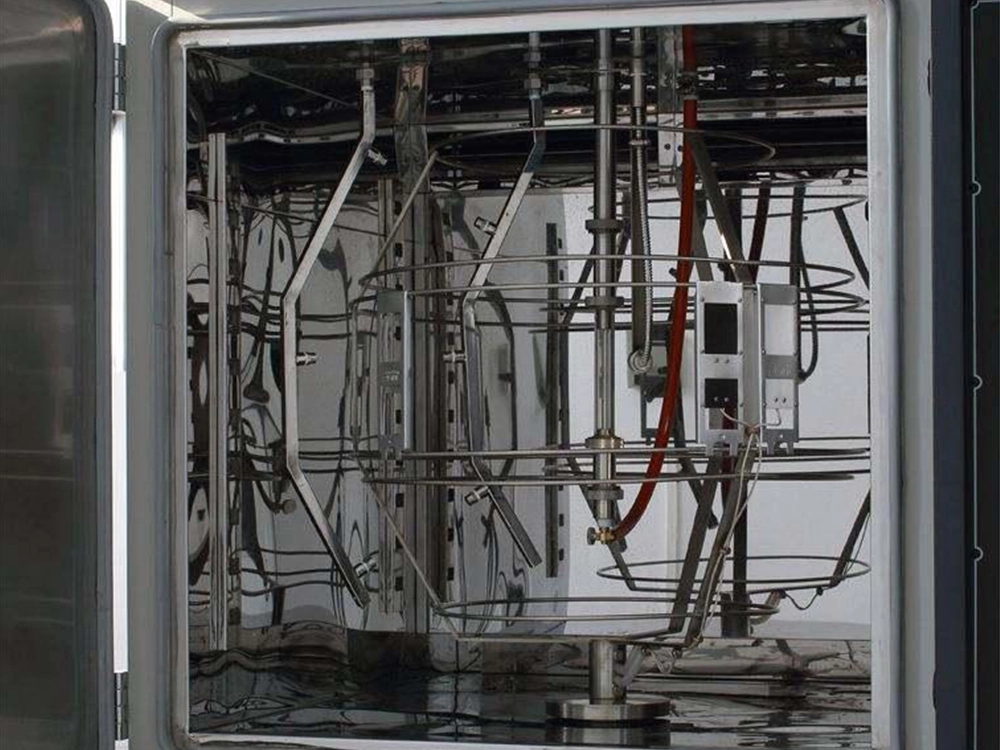
| Specimen: | a.Rotation speed of specimen holder: adjustable between 1-7rpm. |
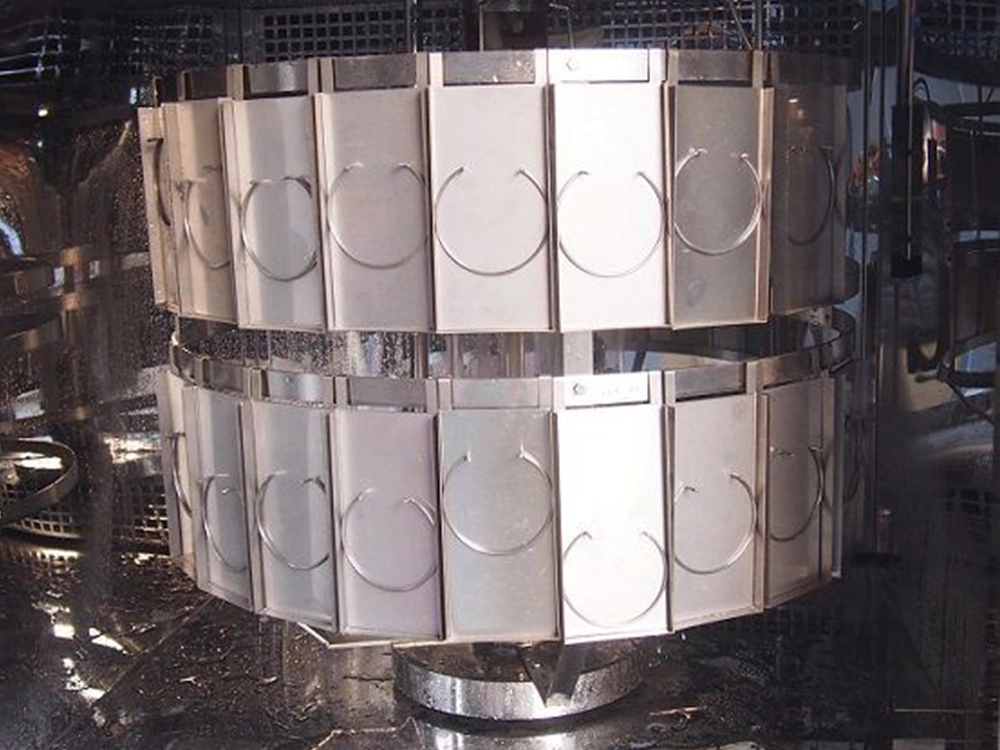
| b.Dimensions and amount of specimens to be mounted and clamped: 35 pieces of 145×75mm sample plates or 46 pieces of 145×45mm sample plates. | |
| c. Individual timing for each specimen gripper≤10000h。 | |
| d.Specimen thickness≤4mm。 | |
| Power source: | 3-phase 4-wire system. The ground wire needs to be external. |
| External dimensions: | 1260×850×1880mm(L×W×H) |
| Weight: | 400kg |
light fastness tester comply with the following standards
- AATCC TM16-3
- ISO 105-B04
- GB/T14576
- GB/T1685
- AATCC TM16-4
- ISO 105-B06
- GB/T 8430
- GB/T16991-2008
- AATCC TM16-5
- ISO 11341
- GB/T 18102
- GB/T15102-2006
- ISO105-B02
- GB/T8427-2008
- GB/T 28998
- GB/T15104-2006、etc.
Application
Applicable for testing color fastness in textiles. Tests include light, weathering, and perspiration effects.
Covers pigment, coating, rubber, plastics, flooring, and paper for comprehensive color fastness evaluations.
Testing principle of light fastness testing machine
The principle is this: mimic nature to make the colors of tested objects more intense. This involves providing the necessary conditions, like ray radiation, temperature, humidity, and rain. Then, the tested objects are put into the testing chamber for the test. We compare the color change of the tested objects with that of the blue wool reference. Then, we evaluate the light fastness of the tested objects.
Why choose the ChiuVention xenon arc test chamber:
Various functions to meet different testing needs
Meet the standards for the stability of the test light source. They have digital setting of light intensity, real-time monitoring, and automatic adjustment. The monitoring band can be 420 nm, 340 nm, or 300-400 nm.
Real-time display of test data
Blackboard panel thermometer (BPT) or blackboard standard thermometer (BST) can be selected. The light fastness testing machine has BST. It is tested at the same station with the specimen. This reflects the actual test conditions. The central processor processes the test data. It shows the data on the color screen as figures, graphs, and curves. So, there’s no need to stop the machine to look.
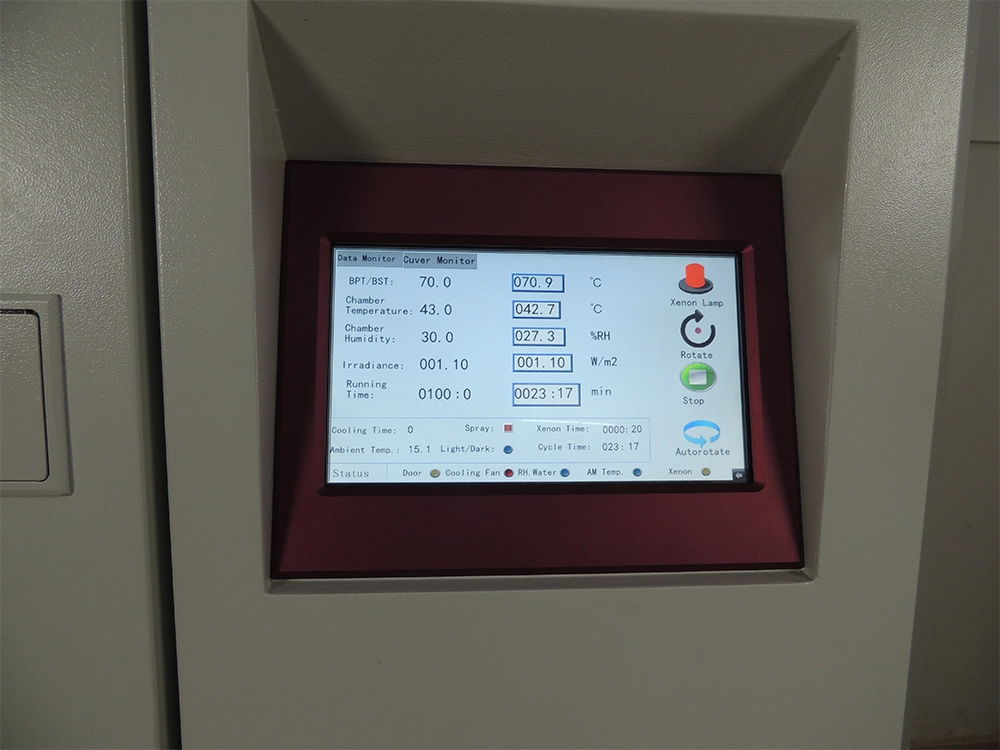
Multi-purpose, simple and convenient operation
The display is a 10.4-inch colour IPC. It has multiple test monitoring modes: digital and graphical. It is easy to use and clear.
Set timing for each gripper. You can test different specimens on one machine. This is handy for testing and monitoring.
Stable operation and intelligent temperature adjustment
Specialised water purification and circulation system reduces running costs. The smart AC system cools the test chamber fast and steadily.
The integrated self-circulation system and air filtration system greatly reduces environmental requirements.
FAQ About Water-cooled xenon arc chamber:
The chamber has a water-cooled xenon lamp. It is specialized equipment. It is used to simulate natural weather. This is for testing materials and products. It simulates natural factors like sunlight, temperature, humidity, and rain. It also simulates and evaluates how materials age. It does this through long exposure and changes.
- Firstly, the water-cooled xenon lamp weathering chamber has multiple functions. It can simulate climate changes. These include sunlight, temperature, and humidity. It can also mimic other climates by changing parameters. At the same time, it can also simulate rainwater. It uses the spraying system to add moisture to the material. In addition, the chamber uses a water-cooled xenon lamp. It can also be heated and cooled as needed. This lets it test many kinds of materials.
- Second, these chambers work by using water-cooled xenon lamps to simulate sunlight. The lamps emit high-intensity ultraviolet and visible light. Xenon lamps have high luminous efficacy and long lifespan. They also have a stable output spectrum, which can mimic sunlight well. This makes aging tests more accurate and reliable. At the same time, the water cooling system can cool the xenon lamp. This keeps the equipment running well.
- Coating paint:
We test the car’s shell outdoors to see if the material ages and loses paint in sunlight. This helps choose the right type and formulation of coating. - Building materials:
Can be divided into structural materials, decorative materials and certain materials. To test light resistance, use a xenon lamp weathering tester. It is for materials that have had long sun exposure. - Textiles:
Easy to understand is the clothes people wear, home curtains, etc., the need for light test to detect their use after a long time whether the colour will fade. - Furniture leather:
Good furniture will last a family 40 or 50 years. But, it must pass tests. It needs light, temperature, and humidity tests. These tests show if the sofa’s skin will last for many years of use. - The plastics industry:
Plastic products can use it to test their weathering. It shows how their performance changes in different conditions. It also provides reference for the research, development, and production of plastic products.
- Firstly, it can simulate a more realistic natural climate environment, which can more accurately simulate the aging process of materials under actual use conditions.
- Secondly, the equipment is simple to operate, with an automatic control system, you can easily adjust a variety of parameters to meet different testing needs.
- In addition, the equipment is highly reliable, after many tests and verification, can ensure the accuracy and reliability of the test results.
In conclusion, the water-cooled xenon lamp weathering and aging chamber is a very important weathering performance testing equipment, which can accurately assess the performance of materials and products. It is widely used in plastics, coatings, automotive and other industries. And it has the advantages of simulating the real environment, simple operation and high reliability. By using the water-cooled xenon lamp weathering chamber for testing, it can provide reliable data support for R&D and production in various industries, and improve the quality and performance of products.
- Wide wavelength range: xenon arc lamps have a wide range of wavelengths, including not only the yellow-green region of the visible spectrum, but also covering the ultraviolet and infrared light. This makes the xenon arc lamp has a wide range of applications in the field of lighting, display, spectral analysis and so on.
- High brightness: xenon arc lamps have high light brightness and can produce bright and uniform light. This makes xenon arc lamps widely used in stage lighting, automotive lighting, projectors and other fields.
- High color saturation: Due to the high color saturation of the light produced by xenon discharge, xenon arc lamps can present colorful color effects. This makes xenon arc lamps widely used in stage performances, light shows and other occasions.
- Xenon lamp power supply: the xenon lamp is connected to the power supply system of the xenon lamp aging tester, and the voltage and current are supplied through the control power supply system to make the xenon lamp work normally.
- Bulb heating: The xenon lamp is heated by a specific heating device to simulate the high temperature environment under real working conditions.
- Bulb Ignition: The xenon lamp is ignited by the ignition circuit in the test chamber, causing it to begin to emit light.
- Time control: Set the time of the aging test, and control the working time of the xenon lamp through the time controller to simulate the aging process under actual use.
- Monitoring and Recording: During the aging process, use sensors to monitor the bulb’s voltage, current, brightness and other parameters, and record them through a data logger.
- Evaluation of results: Based on the results of the aging test, the aging life and performance of the xenon lamp are evaluated to determine whether the bulb is qualified or not.
1. Principle:
Xenon lamp aging tester and UV aging tester are more widely used accelerated aging test equipment, the two test equipment testing principle is completely different. Xenon lamp aging tester simulates all the spectrum of sunlight, including ultraviolet (UV), visible light and infrared (IR), xenon lamp spectrum in the range of 295nm to 800nm basically coincides with the spectrum of sunlight. This means that xenon lamps are used to test many products that are sensitive to the long wavelengths of UV, visible light and IR. UV weathering chambers, on the other hand, use fluorescent UV lamps to mimic the damaging effects of sunlight on durable materials. This is different from the xenon arc lamps mentioned earlier, fluorescent UV lamps are electrically similar to the general lighting cold fluorescent lamps, but can generate more ultraviolet light rather than visible or infrared light.
2. Use:
Xenon lamp aging tester adopts xenon arc lamp that can simulate the full sunlight spectrum to reproduce the destructive light waves existing in different environments, which can provide corresponding environment simulation and accelerated test for scientific research, product development and quality control. And, the UV aging tester mainly adopts fluorescent UV lamp as the light source, and accelerates the weathering test of materials by simulating the UV radiation and condensation in natural sunlight, in order to obtain the results of material weathering. It can simulate the environmental conditions such as UV, rain, high temperature, high humidity, condensation, darkness, etc. in the natural climate, by reproducing these conditions, combining them into one cycle and letting it perform automatically to complete the cycle times.
Water cooling is a method to dissipate the heat generated inside the xenon aging tester through a water cooling system. The water cooling system consists of a water pump, a water tank, a radiator, etc. The principle is that the coolant containing the heat generated inside the xenon aging tester is cooled by the radiator. The coolant used in the water cooling system is usually pure water or water with added preservatives.
1. Advantages of water cooling
(1) High heat dissipation efficiency: water cooling has a good heat dissipation effect, which can effectively reduce the working temperature of the apparatus, so that it has a more stable and sustained performance in a high-temperature environment.
(2) Low noise: water-cooled compared to air-cooled, the noise is much smaller. Because water-cooled is through the water pump will coolant circulation flow, will not be like air-cooled as produce a lot of noise.
(3) Stable cooling effect: the cooling efficiency of water-cooled system is stable and not affected by the external environment, which can adapt to different application requirements in a wide range.
2. Disadvantages of water cooling
(1) Relatively difficult to install and use: water-cooled systems require high installation and use of skills, and need professional engineers for maintenance and overhaul.
(2) High maintenance costs: water-cooled cooling system has more components, which requires frequent inspection and cleaning, and higher maintenance costs.
When choosing the cooling method of xenon lamp aging tester, the following factors need to be considered:
- Power Consumption: when the test chamber power consumption is high, water cooling is more suitable, more efficient heat dissipation.
- Noise: when the test chamber is used in the requirements of low noise occasions, it is recommended to choose the water-cooled method.
- Installation and Maintenance: water cooling requires high installation and maintenance skills, it is recommended to choose in the case of installation and maintenance by professional engineers.
- Price: In the case of higher budget, you can choose water cooling, but also need to bear higher costs.
In summary, the choice of xenon lamp aging test chamber cooling method needs to be weighed according to the actual situation. In order to ensure the normal operation of the equipment, it is recommended that when choosing the heat dissipation method, the power of the equipment, noise, price and maintenance costs and other factors should be considered.
The procedure for using the xenon lamp weather tester consists of the following main parts:
Sample Placement: Firstly, the samples to be tested are placed in the sample racks in the chamber, ensuring that the samples are evenly exposed to the light and do not block each other. For cases where multiple aspects of weathering need to be assessed, the samples should be placed at different angles to simulate various situations in actual use.
Equipment start-up: The equipment is started and the test begins according to the preset programme. During the test, a xenon lamp will irradiate the sample to simulate natural daylight, while the temperature and humidity inside the chamber are controlled to replicate conditions in a natural environment. Ensure that the operational status of the equipment and any abnormal changes in the sample are checked periodically during the test.
Periodic Inspection: Periodic inspection of the samples is necessary during prolonged weathering tests. Record changes in the appearance of the samples such as colour, gloss, cracking and blistering, as well as changes in physical properties such as hardness and strength. These data will provide an important basis for analysing the weathering performance of the material.
End test: After completing the test according to the set test cycle, switch off the equipment and remove the sample. The samples are examined in detail and tested for performance, and the status and performance data are recorded. Comparisons are made with the initial data prior to testing to assess the weathering performance of the material.
Data Analysis and Reporting: Collate all data and observations collected during the test. Analyse the changes in the material’s performance under xenon lamp exposure to determine the strength of its weathering resistance and prepare a detailed test report. The report should include the test conditions, the course of change in the sample, the results, and recommended improvements.
Through the above steps, weathering tests using a xenon lamp weathering tester can systematically and accurately assess the stability and service life of materials in their natural environment.
The installation process of the xenon lamp weather tester mainly includes the following steps:
Installation location selection: Firstly, the test chamber needs to be placed on a dry and level floor indoors to ensure that the equipment is stable.
Power supply line connection: in the power supply line should be installed in the circuit breaker, dedicated to the equipment power supply to ensure safety.
Specimen Installation: Place the specimen into the sample rack inside the chamber and make sure the specimen is stable, then close the door of the chamber.
Water supply and drainage connection: After the power supply of the whole machine is turned on, it is necessary to connect the water inlet pipe to the drainage pipe and make sure that the pressure in the water supply system is not less than 0.5 kg. If the pressure is less than 0.5 kg, a self-priming pump or a pipeline pump should be added to the water inlet system in order to increase the water pressure. The exhaust pipe should be connected to the outside, but do not bend or raise it.
Control system setup: Press the ‘power’ switch, the xenon lamp light and rainfall time controller on the power display. Set the total test time and rainfall time. After the time parameters are set, switch off the ‘power’ switch, then switch on the ‘power’ switch again, press the ‘start’ switch, the internal indicator light. The ‘Power’ indicator lights up and the ‘Dry Bulb Temperature’ and ‘Wet Bulb Temperature’ are displayed. First of all, in the ‘wet and dry bulb control table’ with the manual, just set the ‘dry bulb temperature’ value, and then check the corresponding humidity value, with the dry bulb temperature value minus the temperature difference between the value obtained as ‘wet bulb temperature ‘value, set this value in the wet bulb instrument, to work in the ‘dry bulb temperature’ and ‘wet bulb temperature’ constant, that is, the temperature and humidity constant.
Xenon lamp installation and start: first press the power switch on the irradiometer, press the ‘xenon lamp’ switch, the switch in the indicator light, within five seconds the xenon lamp automatically triggered to light, to the xenon lamp time to set the value of the automatic switch off. If the xenon lamp does not start, you can start the xenon lamp for the second time, but need to wait 10 minutes to try again.
In addition, careful attention should be paid when replacing the xenon lamp of the xenon aging test chamber, the lamp installation method is as follows: open the top plate, remove the two wires on the epoxy board and take out the lamp. Take down the lamp holder, check whether the casing on the two ends of the fixed frame is straight. Wearing gloves, pick up the lamp (gently) and thread the lamp from the holder to the other end of the holder, care and attention must be taken during the installation process.
These steps together constitute the complete installation process of the xenon lamp weather tester, ensuring the correct installation of the equipment and the smooth running of subsequent tests.
The wiring of a xenon lamp weather tester is a relatively complex operation requiring specialist knowledge as it involves a number of aspects such as power supply, water connections and possibly signal control. The following are general wiring procedures and precautions, but please note that specific wiring methods may vary between different models and manufacturers of test chambers, so it is important to refer to the equipment’s instruction manual or contact the manufacturer for detailed instructions before proceeding.
1. Power supply wiring
Determine the power requirements: Firstly, it is necessary to know the parameters of the power supply voltage, current, frequency and phase required by the test chamber. This information can usually be found in the unit’s instruction manual or on the unit’s nameplate.
Prepare the power supply wiring: Depending on the power requirements, prepare the appropriate power supply wiring. For large equipment, it may be necessary to use a three-phase power supply with sufficient wire gauge to ensure stable current transmission.
Install air circuit breakers: Install air circuit breakers in the power lines to protect the equipment from problems such as current overload. Also, make sure the capacity of the air circuit breaker meets the requirements of the equipment.
Connect the power supply: Connect the power line to the power connector of the test chamber. During the connection process, be sure to pay attention to the correct phase sequence to avoid equipment damage due to wrong phase sequence.
2. Water supply system wiring
Prepare the water source: Make sure there is a stable water supply and meet the water quality requirements of the test chamber. For the test chamber that requires spraying, it is recommended to use pure water or deionised water to avoid contamination of the sample.
Connect the water inlet pipe: Connect the water inlet pipe to the water inlet port of the test chamber and make sure it is firmly connected without leakage. At the same time, check whether the pressure in the water supply system meets the requirements of the equipment, such as insufficient pressure may require the installation of a booster pump.
Connect the drain hose: Connect the drain hose to the drain port of the test chamber and ensure smooth drainage. The drain hose should be connected to an outdoor or suitable drainage facility to avoid water backflow or overflow.
3. Signal control wiring (if any)
For test chambers with automatic control and monitoring functions, signal control wiring may also be required. This typically includes signal wiring connections to devices such as temperature sensors, humidity sensors, irradiance meters, etc. When wiring, it is necessary to follow the requirements of the equipment manual to make the correct connections and ensure the stability and accuracy of the signal transmission.
Precautions
Safety first: When wiring, be sure to cut off the power supply and follow the relevant safety regulations to prevent electric shock and other accidents.
Read the manual carefully: the wiring method of different models and manufacturers of test chambers may be different, so be sure to read the instruction manual of the equipment or contact the manufacturer for detailed instructions before actual operation.
Professional operation: If possible, it is best to have a professional with relevant experience and qualifications to carry out wiring work to ensure the correctness of the wiring and the normal operation of the equipment.
In conclusion, the wiring of the xenon lamp weather tester is an operation that requires professional knowledge and skills, and must be treated with caution and follow the relevant procedures and instructions.
The setup of the xenon lamp weatherproof test chamber includes the adjustment of several parameters such as temperature, humidity, light time, blackboard temperature, spray time, and so on.
Temperature and humidity settings: Firstly, the temperature and humidity of the test need to be adjusted. This is usually done by lightly pressing the ‘SET’ key and then using ‘︿’ and ‘﹀’ to change the test parameters.
Setting the Light Time and Blackboard Temperature: Next, set the light time and blackboard temperature for the test. This is usually done by removing the Plexiglas cover from the time display and using the ‘top’ and ‘bottom’ keys to change the size, with the middle key acting as the time key. The blackboard temperature and spray interval can be set in a similar way.
Spray time setting: If a spray test is to be carried out, it is also necessary to set the spray time, which can be set using specific keys.
Programme editing: After setting the basic parameters, programme editing is required. This includes setting the test temperature, humidity, time H, time M, light value, switching of the blackboard display, cycle setting for the rain shower, and cycle setting for the turntable. There are five sets of cycle settings, the first is the on time, the second is the off time, and one is selected for cycle work when working. After all the settings are finished, tap the programme to save and exit.
Entering operation setting: when entering operation setting, you can choose fixed value working state or programme editing. Under the fixed value state, set the fixed values of temperature, humidity, light, time, etc.; under the programme state, select the programme and tap the upper left corner directly to exit for programme editing.
Through the above steps, you can comprehensively set the parameters of the xenon lamp weather tester to ensure that the test conditions meet the specific test requirements.
- Regular cleaning: Regularly clean the dust, dirt and other impurities inside and outside the test chamber to ensure the normal operation and long-term stability of the equipment.
- Regular replacement of water-cooled tubes: water-cooled xenon aging tester water-cooled tubes need to be replaced regularly to ensure water circulation and heat dissipation effect.
- Regular inspection of the xenon lamp: check the status of the xenon lamp regularly to ensure its normal operation and life.
- Regular calibration: Regularly calibrate the temperature, humidity, light and other parameters inside the test chamber to ensure the accuracy and reliability of the test.
- Prevent overloading: For test chambers used for long periods of time, care needs to be taken to prevent overloading to avoid equipment damage.
- Keep well ventilated: the test chamber needs to be placed in a well-ventilated environment to ensure that the equipment works properly and long-term stability. In short, the water-cooled xenon lamp aging test chamber is a high-precision equipment, need to be carefully cared for and maintained to ensure the normal operation and long-term stability of the equipment.
