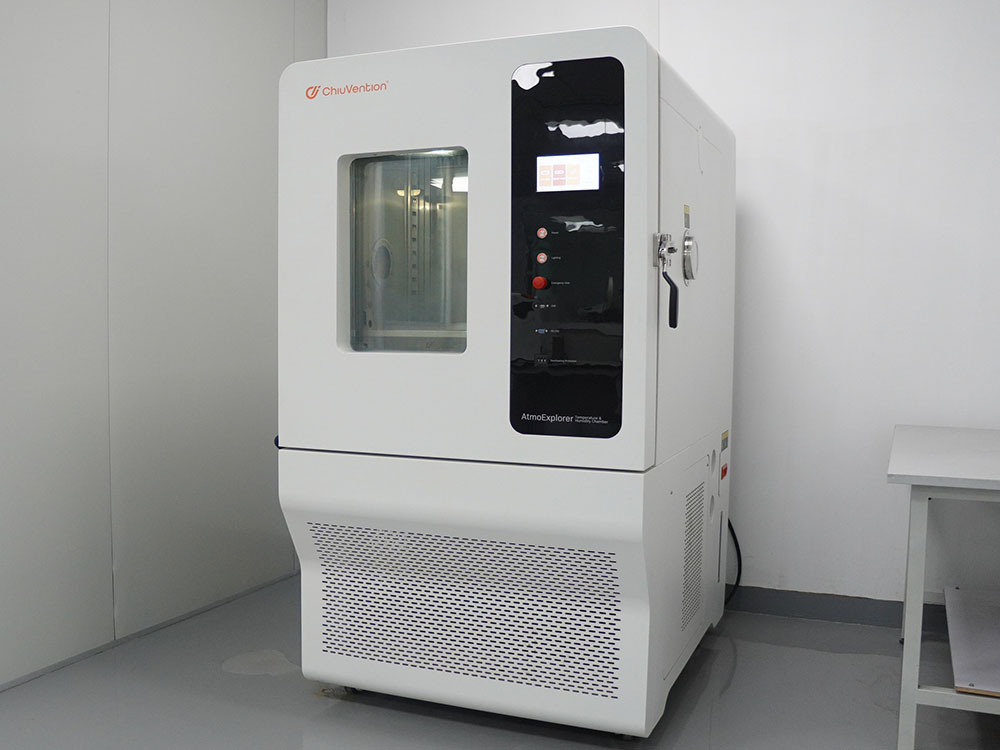
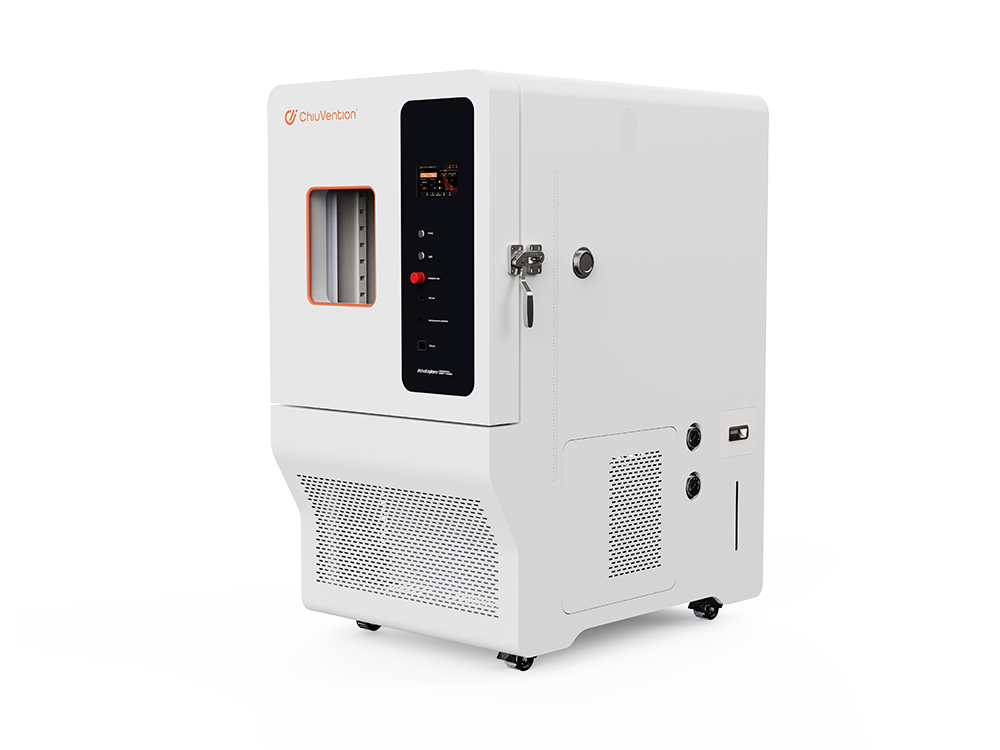
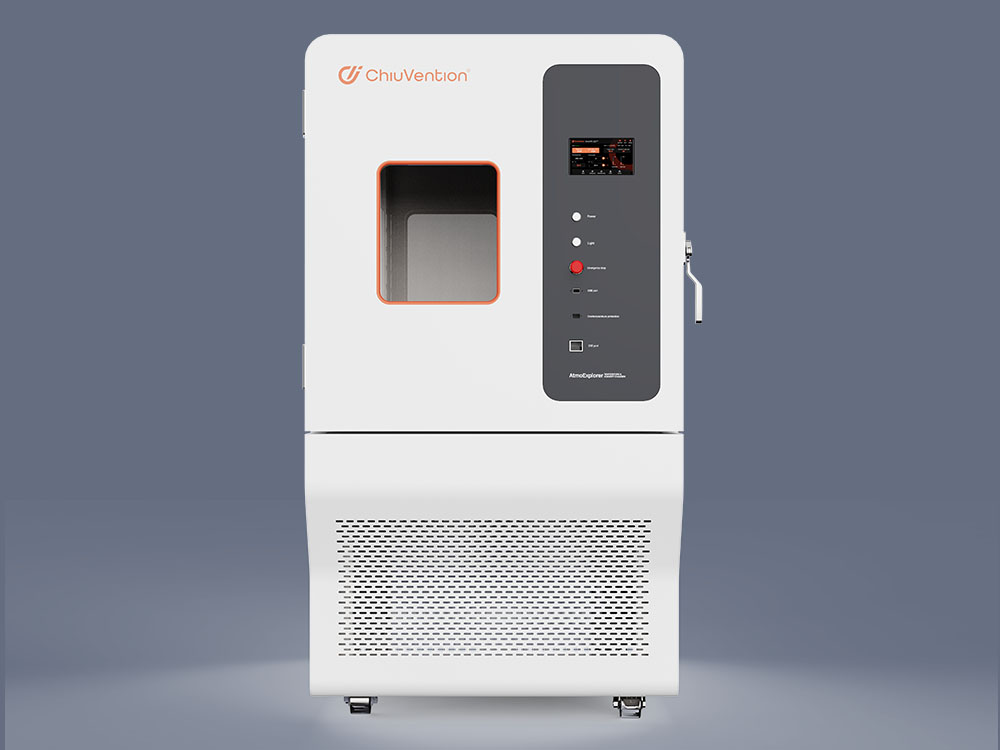
How to set the AtmoExplorer temperature of constant temperature and humidity test chamber?
To set the temperature of a test chamber, do this. It has a constant temperature and humidity chamber.
Environment check:
Ensure the test chamber is in a low-vibration, low-EMI environment. It should have low dust and corrosive substances. Leave at least 1 metre of space for operation and maintenance. Ensure that the ambient humidity is not greater than 85%.
Power connection:
Connect the test chamber’s power supply. It must be 220V±22V, 50Hz. Check the power indicator. Ensure the power supply is stable.
System check:
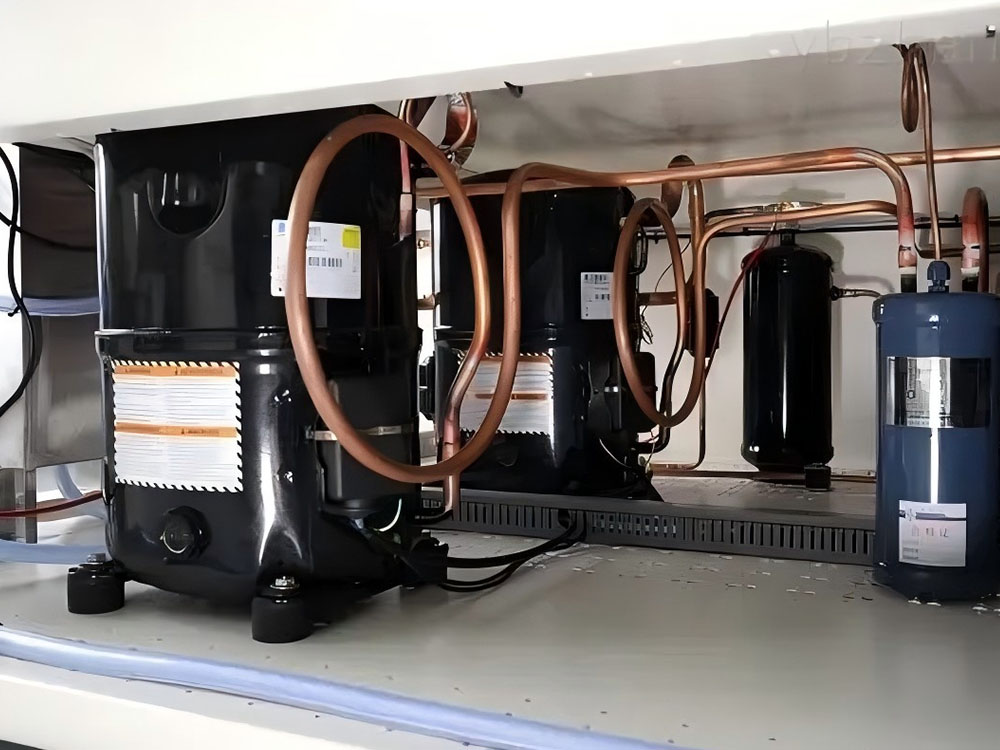
During transport, check for damage or air and oil leaks in the compressor and piping system. Confirm that the factory charged the R404 class piping system with enough refrigerant. If there is any leakage, use a leak detector to check and replenish the refrigerant.
Temperature setting:
Turn on the test chamber’s power. Set the over-temp protection temperature. It should be 5-10℃ higher than the use temperature. In a constant temperature test, adjust the temperature using the controller’s surface plate. Do this until it reaches the desired level.
Start the system:
After checking that all settings are correct, press the start button to start the system. For the thermostatic test, if the temp is below room temp, turn on the refrigeration switch.
Temperature and humidity range of constant temperature and humidity test chamber:
The test chamber’s temperature is RT+10℃ to 100℃. Its humidity is 80% to 98% R-H.
Why does the constant temperature and humidity test chamber trip?
The main reasons for constant temperature and humidity test chamber tripping are:
Power supply problem:
The test chamber needs a large current to start. If the power supply is unstable or the voltage is low, it may trip when starting.
Overload problem:
When the test box starts, all devices will run at once. If the total power exceeds the circuit’s capacity, it will trip.
Short-circuit problems:
The test box’s internal circuit may have a short circuit. This could be due to poor line contact or damaged insulation. These problems can cause a sudden current increase, triggering the trip protection device.
Controller failure:
A controller failure may cause a short circuit in the distribution system. This will trip small circuit breakers and earth leakage switches.
Heating pipe problem:
Heating pipe damage or a short-circuit may cause tripping. A leak in the heating pipe will trigger the protective device.
Humidifier problem:
Damage to the humidifier tube or the pump switch may cause dry burning. This can trigger tripping.
Circulation system motor problems:
A stuck or damaged circulation system motor or impeller may also cause a trip.
Power overload:
If too many devices connect, they may draw too much current and cause a trip.
Faulty temperature sensor:
A faulty temperature sensor may also cause a trip.
Loose circuit connection:
Loose circuit connection may lead to poor contact and trigger tripping.
Ways to solve the constant temperature and humidity test box tripping problem include:
Check the quality of the power supply:
Make sure the voltage is stable and the wires are well wired.
Evaluate the power of electrical equipment:
Ensure that the total power does not exceed the circuit carrying capacity.
Check circuit connections:
Repair possible short-circuit problems and tighten all connections.
Maintain protective devices:
Maintain and test protective devices regularly to ensure they are working properly.
Replace damaged parts:
If someone needs to replace damaged parts such as heating tubes and humidifier tubes.
Contact professional maintenance personnel:
If the above measures can’t solve the problem, contact a pro for inspection and repair.
Use the above methods to stop the tripping of a temperature and humidity test instrument. This will keep the equipment working.
Why can’t we use the constant temperature and humidity test chamber?
The main reasons we can’t use the constant temperature and humidity test chamber are:
Hardware failure:
Compressor failure:
The damage, sticking, or low refrigerant levels may affect the compressor. This can prevent it from starting. For example, the compressor’s motor windings are short-circuited. It fails to operate.
Fan Failure:
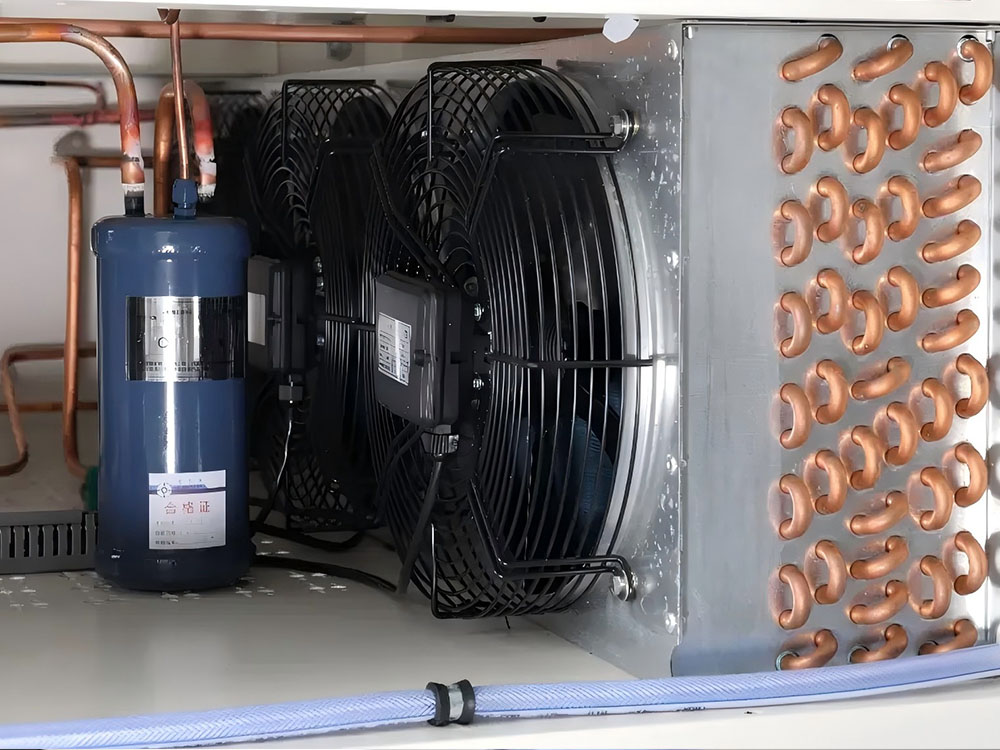
Issues with the circulation or cooling fan prevent it from working properly. This fan must ensure a uniform temperature and humidity in the box and dissipate heat. For example, foreign objects damage the motor of the fan or stick the fan blades.
Solenoid Valve Failure:
Failure of the solenoid valve may result in poor cooling or no cooling at all.
Heating element failure:
A damaged heating element may cause a cooling-heat mismatch. This can prevent the temperature from dropping.
Control signal transmission problem:
Disconnected or short-circuited control wiring:
If the control wiring fails, the control signals won’t transmit. For example, the wiring has worn out over time. The internal wires are now disconnected.
Relay failure:
The controller sends commands, but the damaged relay does not respond properly.
Sensor failure:
Temperature sensor or humidity sensor failure:
Unable to accurately report the temperature and humidity in the box. This caused the controller to detect that the setup conditions were not met, so it would not start. For example, someone has damaged or contaminated the sensor probe.
Software setting problem:
Wrong parameter setting:
The set parameters do not match the test chamber’s range or logic. This caused a failure to execute. For example, the temperature range set is outside the capability of the tester.
Power supply problems:
Unstable or insufficient power supply voltage:
The power supply to the actuators has unstable voltage. It affects their normal operation. For example, some components of the power supply module are aging and the output power drops.
System failure:
Refrigeration system design problems:
The initial design of the refrigeration system has problems. There is a refrigerant leak. As a result, the temperature and humidity test chamber does not cool down.
You cannot use the following methods to solve the test chamber:
Check the hardware equipment:
Ensure the hardware, like the compressor, fan, and solenoid valve, works. Repair or replace them if needed.
Check the control signal transmission:
Ensure that the control line and relay work properly, repair or replace if necessary.
Check the sensors:
Check that the temperature and humidity sensors work. Repair or replace them if not.
Adjust the software settings:
Check and adjust the parameters. They must match the test chamber’s operating range and logic.
Check the power supply:
Ensure the power supply voltage is stable and sufficient. Repair or replace the power supply module if needed.
Check the system design:
Ensure the refrigeration system design is sound and leak-free. If needed, maintain or repair the system.
Use the above methods to fix the broken temperature and humidity test chamber. They will ensure the equipment runs normally.
Constant temperature and humidity test chamber how to add water?
Constant temperature and humidity test chamber water filling steps are as follows.
Manually add water:
Open the cover plate under the equipment and find the water filling tank.
Add pure water or distilled water, add to the water level line 6-7 can be.
Automatic water intake:
Prepare clean tap water and connect it to the automatic water feed area at the rear of the unit.
Switch on the water supply and make sure the water pressure is around 2-4kg.
Precautions when adding water:
Use pure or distilled water to avoid limescale formation.
Check the water level to avoid it being too low or too high. A low level will trigger a water shortage alarm. A high level may cause an overflow.
What are the humidification methods of constant temperature and humidity test chamber?
Constant temperature and humidity test chamber humidification methods mainly include the following:
Water spray humidification method:
Including ultrasonic, centrifugal spray and pump spray. The ultrasonic vibrator will atomise water. The water pump spray type will do the same through the nozzle.
Shallow water pan humidification method:
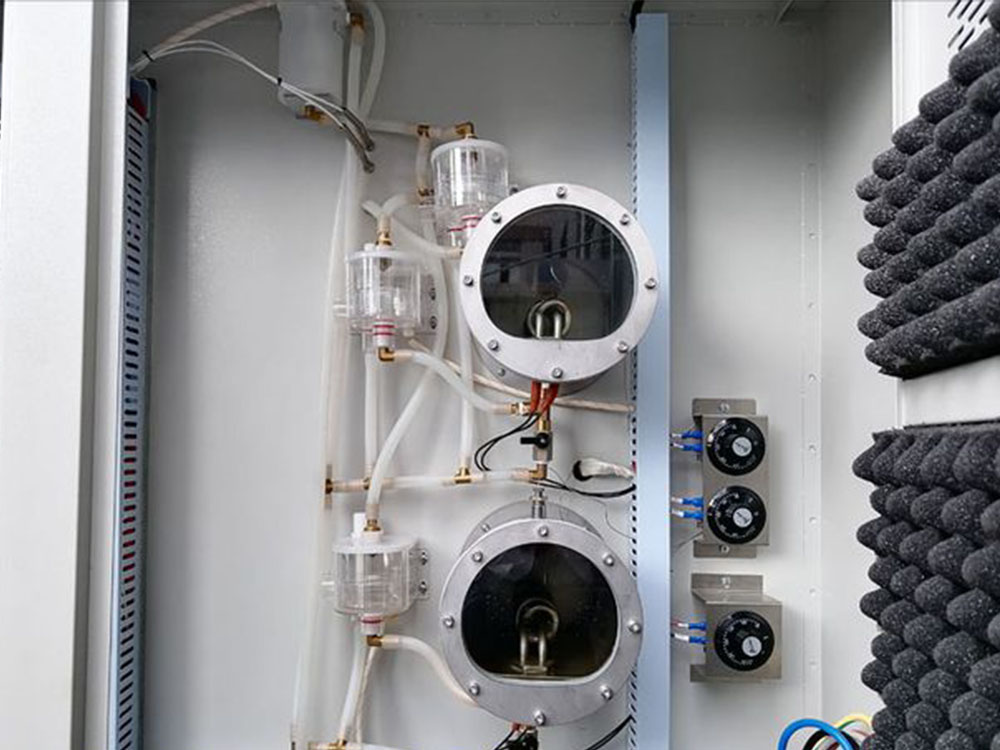
This method in the test box. it must have a large water pan, usually in the bottom or side of the box’s air duct. The water pan has an electric heater. It raises the water temperature above the test temp inside the box. This increases the water vapor pressure. The water vapor then diffuses and convects into the air, humidifying it. The advantage is that the humidification process is slow but stable. After the system is stable, humidity fluctuates little. The heat influence is small, and maintenance costs are low. The downside is that it is hard to get low humidity. Also, microbes grow if it’s not used for a long time.
Ultrasonic humidification method:
An ultrasonic humidifier will mist tiny water droplets. They will go through a water pipe into the test chamber. This will humidify the chamber. This method of low cost, humidification speed, suitable for occasions with limited budget. Advantages are fast humidification, low cost. The downside is high water use. Frequent starts of dehumidification may affect the test’s stability.
Steam pot humidification method:
We will boil the water. Then, we will direct the steam into the test box to humidify it. This method of humidification effect is significant, but the structure is more complex. The advantage is that the humidification is rapid. It meets the need for fast humidity tests. The downsides are its complexity, a high failure rate, and heat. It makes temperature control harder.
Spray water humidification method:
By spraying water on the inner wall of the test box, the wall area will increase. The water will raise the humidity in the box as it diffuses. The system is stable after a small humidity change. It has flexible control. It may contaminate the test piece and increase the water inside the box. That’s the disadvantage.
Spray humidification:
We dehumidify by controlling the temperature of the sprayed water. Once the system stabilizes, humidity will not fluctuate much. The disadvantage is that in some cases may not be able to meet the demand for rapid humidification.
Subcooled steam humidification:
It combines the benefits of other humidification methods. But, the technology is complex and expensive.
Electric heater or electrode humidification: Generate steam by electrically heating water.
Surface evaporation humidification:
Humidification by shallow water discs that bring the air into contact with the water.
Each method has its pros and cons. They suit different test needs and budgets. Select the best humidification method. It should balance test needs and maintenance costs.
Constant temperature and humidity test chamber how to aging treatment?
The aging treatment method has these steps. It uses a constant temperature and humidity test chamber:
Setting constant temperature and humidity conditions:
Before the aging test, set the constant temperature and humidity. Set the test chamber’s temperature to 50℃-70℃. Set humidity to 50%-90%. The specific settings should match the material’s situation. This will ensure the best aging effect.
Control of aging time:
The testing material should determine the aging time. It is best to use more than 24 hours. This ensures the material is fully aged at a constant temperature and humidity. Note that too short an aging time may lead to inaccurate test results. A long aging time will waste time and resources.
Caution:
Check the test chamber’s status and settings. They must be normal to avoid inaccurate test results.
Set the temperature and humidity to suit the test material. This will ensure the best aging effect.
During aging, monitor the air circulation in the test chamber. If needed, open the door or adjust the vent.
When placing the test material in the box, watch the placement and number of controls. This ensures a uniform aging effect.
After the aging, remove the material and test it. This will give accurate results.
Methods to extend the life of constant temperature and humidity test chamber:
The condenser needs monthly maintenance. Also, clean the wet bulb gauze. You should replace the wet bulb gauze every six months to a year.
Clean the equipment:
After each test, clean the equipment. This will keep the chamber clean and odourless. You should also clean the inside and outside of the box regularly. Clean the distribution room at least once a year. Clean the outside of the box more than once a year.
Check the over-temperature protection device:
Check the over-temperature protection device. Its setting value must be correct. The device will stop working if the temperature is too high.
Maintenance of humidifier:
Replace the humidifier water once a month. Clean the humidifying disc monthly to ensure the water pipe is clear.
Use the above methods. They will ensure the aging test chamber’s constant temperature and humidity. This will get the best results and extend its service life.
For more environmental test chamber, Please visit: https://chiuventionclimatechamber.com
For more environmental test simulation programmes,environmental testing knowledge, instrument knowledge, and environmental testing laboratory knowledge, please contact us: [email protected]
