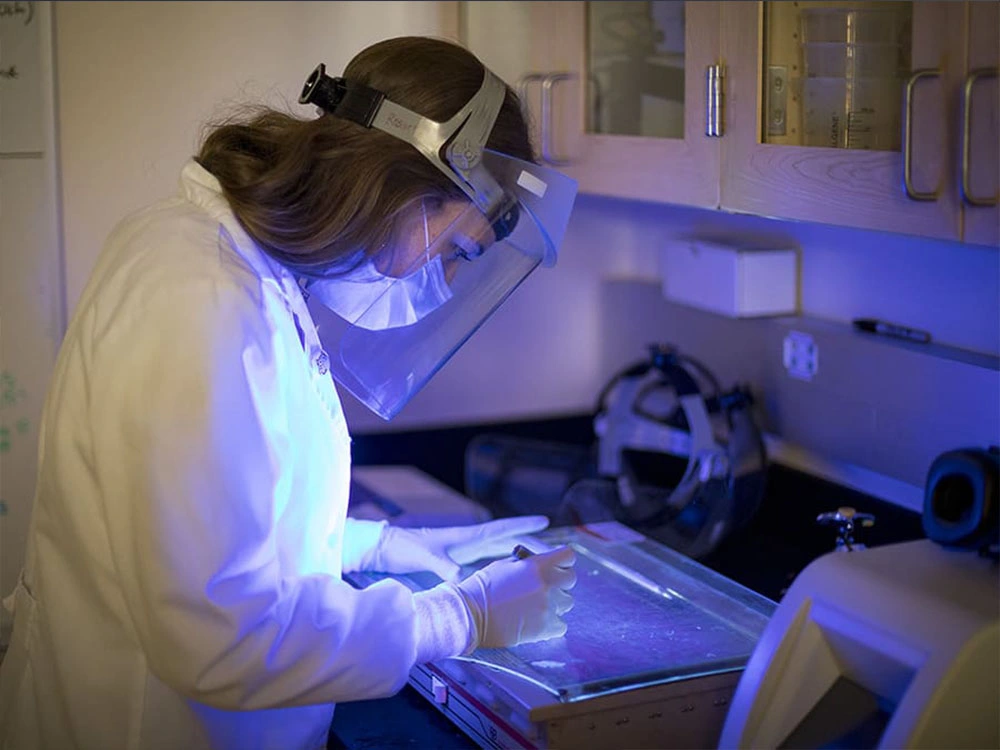
Ultraviolet light is not only harmful to the human body but also to products. So you can’t ignore the harm it can do to your product! Ultraviolet light quickly affects stickers during processing, storage, or use. Ultraviolet light leads to physical or chemical changes within the material. Thus, the product performance deteriorates, and the use value is lost. So, we often use UV aging experiments to assess the life of the product as a way to ensure its quality.
Why does the sticker need the UV aging test?
① Simulate the Real Environment:
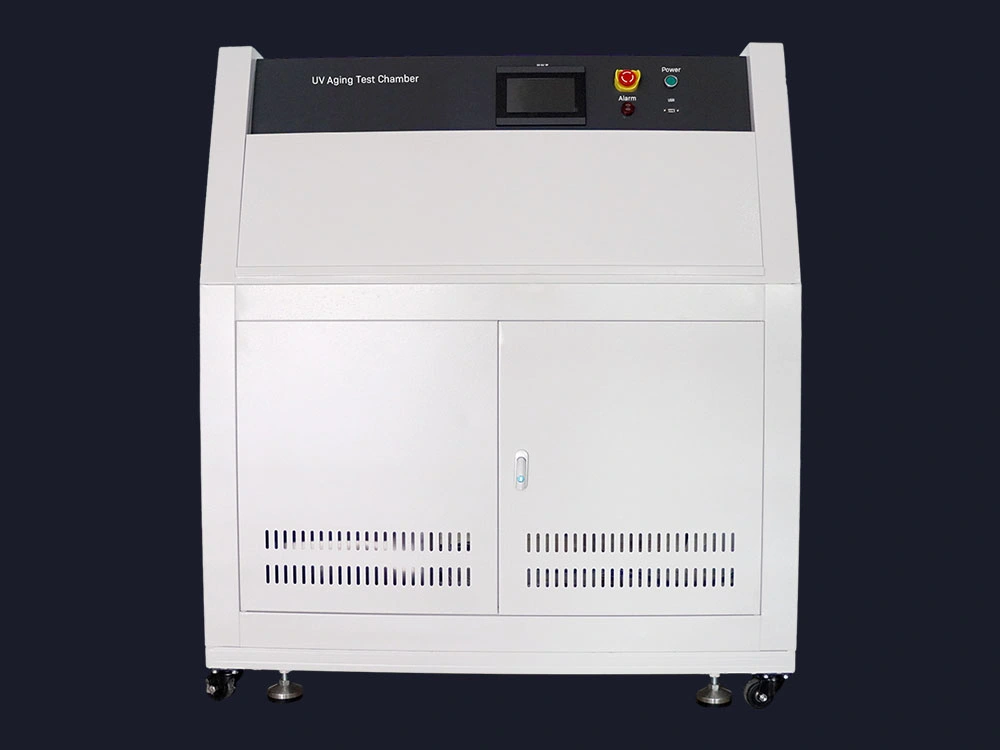
The UV aging test chamber can simulate the ultraviolet radiation in sunlight. Therefore, you can expose the stickers to UV radiation in the natural environment. This test more accurately assesses the performance of stickers exposed to UV light. And it helps you predict the durability of the sticker.
② Assess Quality in Advance:
By testing in a UV weathering tester, you can test the durability of stickers before they are used. This test prevents the sticker from fading or deteriorating by UV exposure in the application.
③ Compare the Performance of Different Materials:
The UV aging tester can compare the performance of different materials’ stickers’ under UV exposure. You can choose the material with better durability by testing different materials stickers. Doing this ensures that the stickers will remain bright and durable in long-term use.
In short, testing a sticker helps to understand how it performs under UV exposure. And make decisions and adjustments accordingly to ensure its quality and durability.
UV weathering tester to detect which properties of the sticker?
① Degree of Fading:
UV exposure is one of the main factors that cause stickers to fade. By exposing the sticker to the UV weathering tester, you can assess the degree of fading of the sticker. And observe whether the color becomes dull or distorted.
② Durability:
A UV weathering tester can test the durability of a sticker. You can observe whether the sticker starts to crack, break, or peel under UV exposure. Evaluate the durability and lifespan of the sticker based on what happens to it after the test.
③ Water Resistance:
Some stickers may claim to be water-resistant. You can test how the sticker performs in a moist environment and observe if it blisters or is damaged.
④Adhesion:
The adhesion of a sticker is an essential property for its effective sticking and fixing. With the UV aging test, you can assess whether UV radiation affects sticker adhesion. Confirm the adhesion of stickers in different environments based on the test results.
These are some of the key sticker properties that a UV weathering tester can help you test. Specific performance tests can vary depending on the type of sticker and needs.
The Use of Ultraviolet Weathering Tester for Sticker Test Procedure
1. Prepare materials:
You will need sticker samples, a UV aging tester, and a test plan.
2. Set the test conditions:
According to your needs, adjust the temperature and humidity of the UV aging test chamber. According to your needs, adjust the temperature and humidity of the UV aging test chamber. At the same time, you also need to change the intensity of UV radiation to achieve your desired test conditions.
3. Prepare the stickers:
Cut the stickers to be tested into appropriate sizes, and ensure each sample is the same size. Clean the surface of the sticker to make sure it is free of dust, grease, and other contaminants.
4. Install the sticker:
Place the sticker on the sample holder of the test chamber. Make sure the sticker is completely exposed to the UV light source.
5. Start the test:
Open the UV aging test chamber and start the test. Use a timer to record the time of the test and control the time according to your test plan.
6. Observe and record:
Observe the changes in the sticker, noting the fading of color, changes in appearance, and so on. Use the test recording form to record the results of each observation.
7. Analyze the results:
Analyze the UV aging performance of the sticker based on the recorded results. And compare the test results with the requirements you set.
8. End test:
When you set the test time or stickers, you have reached the expected degree of aging. Close the UV aging tester and end the test.
How to Assess the Results of Uv Aging Test Stickers
① Observe the color change:
Compare the color difference between the sticker before and after the test. If the sticker becomes dull, faded, or loses vividness, then it does not perform well.
② Check for texture changes:
Look for changes in the texture of the sticker, such as it becoming brittle, broken, or cracked. These may be signs that the sticker was damaged during the UV aging test.
③ Test adhesion:
Evaluate the sticker’s adhesion performance before and after the test. If the sticker’s adhesion deteriorates or peels, it may have lost some of its adhesion.
④Check other performance changes:
Depending on the needs, the waterproofing and durability of the sticker can be evaluated. Then, it may be necessary to reconsider the material or make improvements.
Combining observations and assessments, you can judge the durability of the sticker. Based on the results, you can decide whether to choose a durable material or adjust the conditions of use.
How to reduce the impact of ultraviolet aging on the sticker
① Material selection:
Select UV-resistant materials to make stickers. For example, the use of UV stabilizer additives or the use of special anti-UV coating.
② UV protective coating:
Add a layer of UV filtering or reflective protective coating on the surface of the sticker. This reduces direct exposure to UV rays and minimizes the effects of UV aging.
③Add antioxidant:
Add antioxidants to the sticker production process. It can slow down the oxidation reaction of the sticker and delay the occurrence of UV aging.
④ Avoid prolonged exposure:
Place the sticker under a hood or protective layer to avoid direct exposure to UV light for a long time. It can reduce the effect of UV aging.
⑤ Control environmental parameters:
Adjust the ambient temperature and humidity to keep it within the appropriate range. It can slow down the aging process of the sticker.
⑥ Regular maintenance:
Regularly clean the surface of the sticker to remove dust and dirt and keep its surface clean. It helps to reduce the effect of UV aging.
The above methods can only reduce the impact of UV aging on the sticker. However, these methods cannot completely prevent the sticker from aging. If it needs longer protection, it can replace the sticker periodically or take other steps.
Summary
Stickers are a very fun decoration but do suffer from the effects of UV light. Prolonged exposure to strong UV rays may cause the color of the sticker to fade or become faded. A UV weathering tester is a very useful tool when you want to test the durability of stickers. The UV weathering tester simulates the sun’s UV radiation. The UV weathering tester helps you evaluate how a sticker will perform when exposed to UV light. This enables you to know the durability of the sticker under UV aging conditions. And you can make adjustments accordingly or choose a more durable sticker material.
For more environmental test chamber, Please visit: https://chiuventionclimatechamber.com
For more environmental test simulation programmes,environmental testing knowledge, instrument knowledge, and environmental testing laboratory knowledge, please contact us: [email protected]