A constant temperature and humidity box has precise controls. It tests high and low temperatures and different humidity levels. It’s suitable for electronics, food, plastics, auto parts, lamps, chemicals, building materials, and clothing. It detects changes in temperature and humidity during tests.

Proper use and upkeep of the humidity box can greatly extend its life. It can also avoid technical failures due to maintenance neglect.
01 hot and humid test process, the humidity does not meet the specified requirements is why
Constant temperature and humidity test chamber in doing hot and humid test, if there are
1. The actual humidity will reach 100%:
◇ Check whether the wet bulb gauze is intact set on the humidity sensor.
The gauze on the wet bulb sensor drying out may cause it. Check if the sink of the wet bulb sensor is low on water.
◇ The wet bulb gauze is unable to absorb water and becomes dry and hard. It may be due to using the wet bulb gauze too long or the water supply’s purity. Just replace or clean the gauze to fix it.
2. The actual humidity and target humidity is a big difference, the value is much lower:
Note the humidity range is normally set. A small gap between dry bulb and wet bulb temps means high humidity. A large difference means low humidity.
02 low temperature does not reach the target, how to solve the cooling is very slow
First, observe the temperature change. If it drops slowly, check these points:
1. Studio dry:
Test box (fast temperature change) after the low temp. The evaporator may frost/ice, slowing the cooling rate.
If there’s water in the box, it may be due to:Poor drainage,Blocked pipes,Uneven foam
Recommend baking and drying it. If you do a high temperature and humidity test, the box is flat and no water. You cannot bake it.
Do low-temperature test need to ensure that the studio dry, and then put the test sample test.
2. Sample placement:
The test samples placed in the chamber is too much to affect the cooling rate.
3. Refrigeration system failure:
If the above causes are not it, suspect a failure. It needs a manufacturer’s professional to do the overhaul.
4. The temperature reaches a certain value after a tendency to rise:
◇Check if the test chamber load is causing the heat generation.
◇ Check if high energy use affects the output. This is due to the heating and cooling offsetting each other in the heat and cold balances.
◇ Temperature sampling unit (sensor) failure. Contact professional after-sales personnel for overhaul.
03What to do if the high temperature test fails to reach the test temperature?
You can check the electrical system and remove the faults one by one:
1.The temperature rise is too slow. Check if the wind system is working.
◇ Heating power is too small;
◇ It may be that the heat absorption of the load material leads to too slow temperature rise. Another line check by professional maintenance personnel to confirm whether the heater problem.
2.If the temperature rises quickly, check the air circulation motor.
Is it running normally? If the temperature overshoots great then need to rectify the PID setting parameters. If the temperature rises, it may be a sensor or line failure. Contact Comin after-sales.
04 temperature control shows abnormal pressure, how to deal with
1. Air cooling: high ambient temperature, poor heat dissipation. First, check if the equipment is more than 30 cm from the wall. Second, check if it is in a sealed space. A closed space will raise the temperature and cause the compressor to alarm due to high pressure.
2.water-cooled: high ambient temperature caused by cooling water and pressure flow. This triggered a high-pressure alarm (debugging will not cause it). We need a professional to perform an overhaul.
05 constant temperature and humidity test chamber wet bulb gauze correct placement method
In the humidity and heat test, wet bulb gauze is key. It measures the chamber’s constant temperature and humidity. So, you must place and maintain the wet bulb gauze per specific specs and steps.
1. Location:
Soak the wet bulb gauze’s lower end in the sink. This makes it easier to sense humidity. Then, hang it to dry or set it into the humidity sensor.
2. Maintenance and inspection:
Hang wet ball gauze on the upper end of the wet ball sensor. The lower end must go into the wet ball gauze sink. This will allow it to easily absorb the water in the sink and get wet. If you mount the wet bulb gauze elsewhere, the humidity sensor won’t work. It will show 100% humidity. It will create the illusion that we can’t control the humidity.
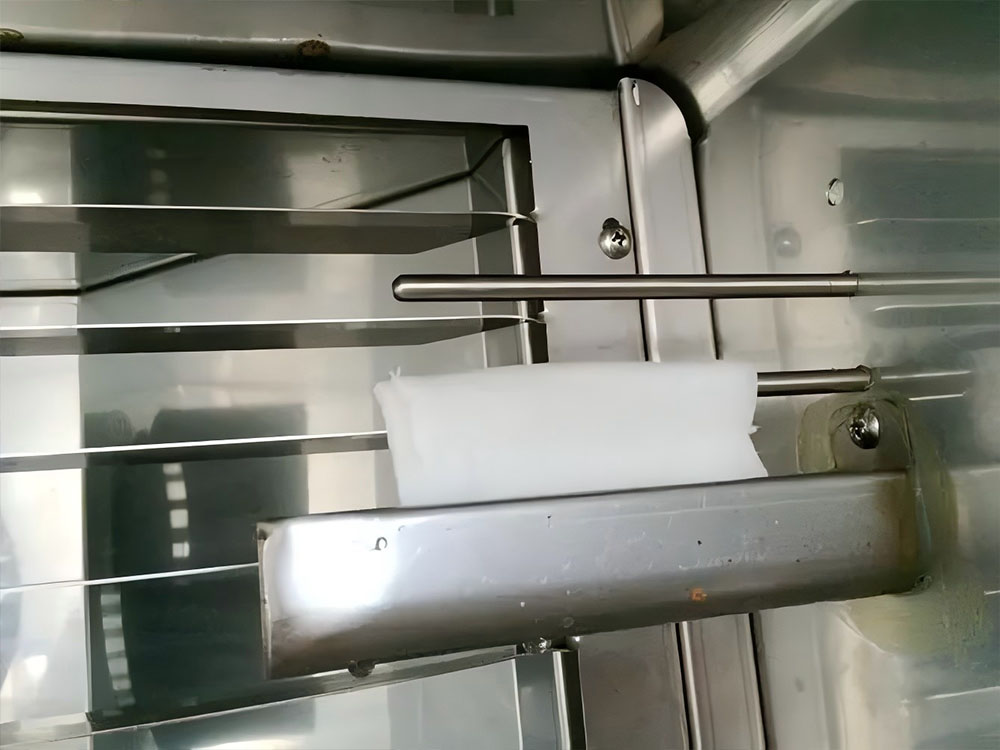
If the gauze does not absorb water or appears yellowed and dry, please replace it with fresh wet bulb gauze.
06 constant temperature and humidity test chamber for a long time out of use what to do
If, due to special circumstances, the test chamber must stop using for a time, then take some protective measures. The specific methods are as follows:
1. When the test box is out of service, remove it. Unplug it and clean the inside and outside.
2. For equipment downtime, do moisture disposal. The methods are: dry the box water. Set the temperature to 50 ℃. Run it for 1 hour. After processing, unplug it and store it.
3. Out of service after the constant temperature and humidity test. Place it in a dry, ventilated place, out of direct sunlight. If moved, keep the test chamber level.
4.The indoor air has some humidity. So, do not use plastic bags to cover the test box. Moisture can corrode metal parts and damage electrical components.
In humid coastal areas, cover up with a plastic bag to avoid moisture.
5.It is best to connect the power supply once a month. Then, let the compressor run for half an hour to an hour before closing it.
07How to maintain the constant temperature and humidity chamber in daily work?
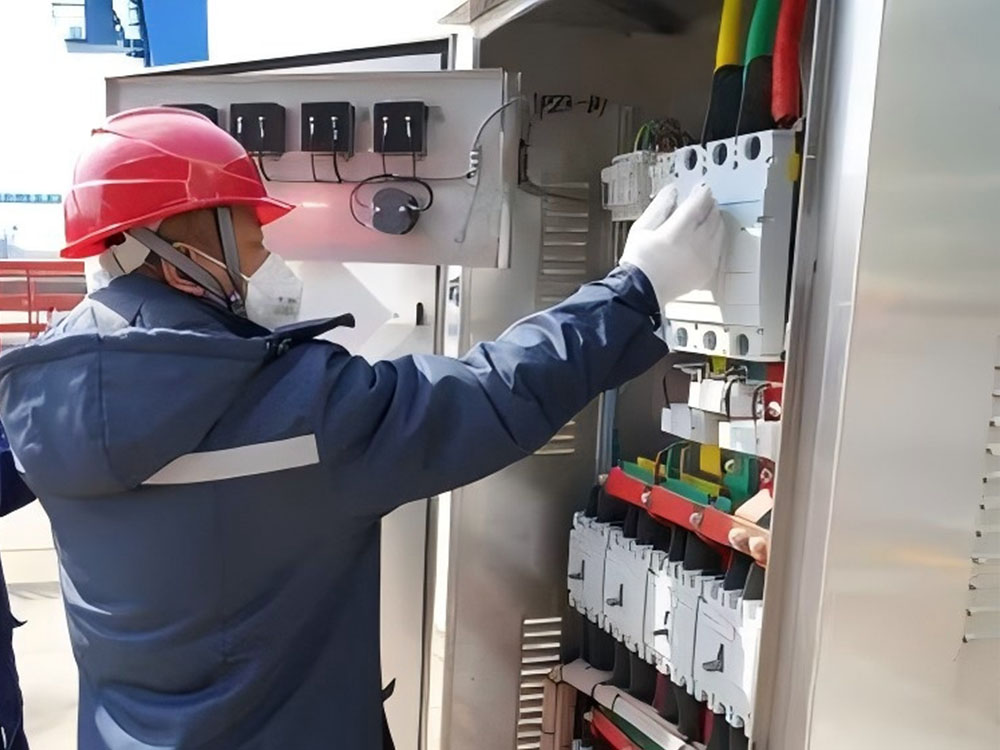
A special person shall operate and maintain the test chamber. They must strictly follow the system’s operating procedures. Others must not operate the system against the rules. For maintenance cleaning, disconnect the equipment’s power supply to avoid electric shock.
Test the monthly regular main power switch (leakage short circuit breaker). It must work as a leakage protector. The steps are: First, ensure the main power switch is “ON.” Energize the system. Then, press the test button. If the earth leakage circuit breaker switch falls, this function is normal.
To ensure clean, normal cooling water, clean the chiller’s filter and the cooling tower. Do this every 3 to 6 months. The water tower has a protective net. It stores better air. Replace the cooling water every 1 to 3 months.
Leakage switch. The manufacturer has rectified its leakage, overload, and short-circuit protection. Users must not adjust it, as it may affect performance. The leakage switch may disconnect due to a short-circuit. If so, check the contacts. If the main contacts are badly burned or pitted, they need repair.
Every six months, with a hoover to clean up and remove the distribution room and water circuit room dust.
Create a system usage file. It will help maintain and repair the system. Files should record the system each time it starts and ends. They should include the date, the test type, and the ambient temperature. When the system fails, describe the failure as detailed as possible. For system maintenance, keep as detailed records as possible.
For more environmental test chamber, Please visit: https://chiuventionclimatechamber.com
For more environmental test simulation programmes,environmental testing knowledge, instrument knowledge, and environmental testing laboratory knowledge, please contact us: [email protected]