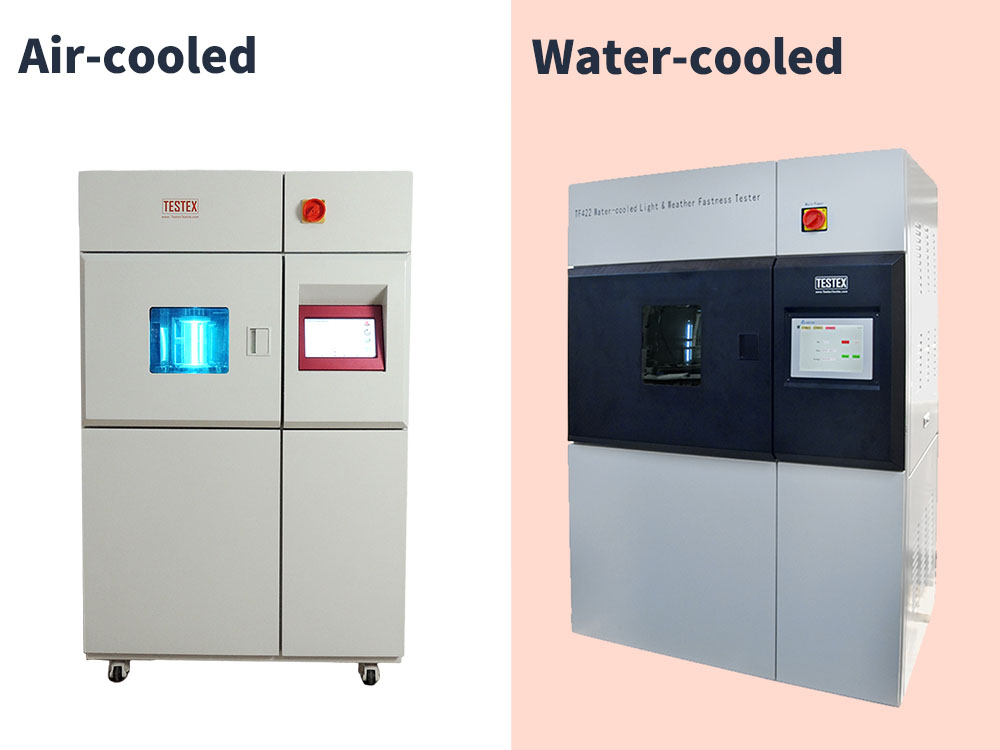
Why doesn’t the xenon lamp aging tester light up?
The reasons why the xenon lamp aging tester does not light up may include the following:
Power supply and circuit problems:
Power access problems:
Check the power supply. Ensure the power cord is not damaged and the plug is firmly inserted into the socket. Use a multimeter and other tools to check the power output voltage. It must be normal to ensure a stable power supply for the tester.
Circuit connection problems:
Check if the circuit inside the tester is good. There should be no shorts or breaks. Pay special attention to the xenon lamp-related parts, like contactors and relays. Make sure they are working properly.
Xenon lamp and trigger system problems:
Xenon lamp installation problems:
Check if someone has installed the xenon lamp correctly. Do not damage the lamp. Both ends of the wiring should be secure. If the xenon lamp has been in use for a long time, it may be old and need replacing. Please use a new xenon lamp.
Trigger system problems:
Check whether the trigger relay, trigger and other related components are working properly. If the trigger system is faulty, it may not ignite the xenon lamp. Its components need repair or replacement.
Cooling system problems:
Cooling water pump problems:
Check the cooling water pump. It must work properly. This ensures enough water flow through the xenon lamp for cooling. If the water pump is not working, it may be the result of a motor failure or a power supply problem. We will need to repair or replace the water pump at this time.
Water circuit problems:
Check if the water circuit remains unobstructed, without blockage or leakage. A problem with the water circuit may affect the xenon lamp’s cooling. This may cause the lamp to malfunction.
Parameter setting problems:
Problems with illumination settings:
Verify the testing machine’s illumination settings. They must meet the test requirements.
Wrong parameter setting:
Check that the instrument parameter setting is correct. For example, the xenon lamp trigger delay.
Instrument aging or damage:
Instrument aging:
If someone has used the tester for a long time, its parts may be aging or damaged. It needs maintenance. You must now ask a pro to inspect and maintain the instrument.
Solution Steps:
Examine the possible causes one by one. First, check the power supply and circuit. Then, check the xenon lamp and trigger system. Finally, check the cooling system and other parts. During troubleshooting, record the results and info from each step for later analysis.
If you can’t solve the problem, please contact maintenance staff.
Why can’t the xenon lamp aging tester work?
The xenon lamp aging tester may not work due to:
Equipment failure, power supply issues, controller failure, or lamp problems.
Equipment failure:
The xenon lamp aging tester may not work due to a motor or transmission system failure. Check if someone has damaged the motor. Also, check the transmission. If either is faulty, fix or replace it quickly.
Power problem:
If the equipment is fine, but the xenon lamp aging test chamber won’t rotate, it may be a power issue. Check if the power supply is normal and the voltage stable. If there are issues, resolve them quickly.
Controller failure:
If the above two situations do not exist, you need to check whether the controller failure. Controller failure may lead to equipment can not operate normally. Check the controller’s power supply and settings. Also, replace the controller if needed.
Lamp problem:
The xenon lamp aging tester lamp does not light up. The reasons may include a damaged DC power supply, loose wiring, or a faulty trigger. Check the power supply output voltage, the wiring, and the trigger.
Xenon lamp aging test chamber safety use of common sense
For accurate test results and safe use of the equipment, ground the zero wire during installation.
If the test chamber is not grounded, there is a risk of electric shock in case of leakage.
Test only after ensuring the installation is reliable. You cannot switch it on and run it until you install it.
Use additional power supply:
If the xenon lamp aging test chamber is hot, please use a separate power supply for the specimen’s control. Do not use the machine’s power supply.
Non-professionals do not open the electrical cabinet cover:
The xenon lamp aging test chamber will generate a dangerous current during operation. Non-professionals should not open the electrical cabinet’s cover.
Ensure that the equipment is fixed:
Before use, make sure to fix the xenon lamp aging test chamber. The casters must be off the ground. Adjust the feet on the ground. Otherwise, the test chamber may move if subjected to external forces.
Inspect and maintain it to avoid common failures of xenon lamp aging test chambers. This will ensure the equipment works normally and is safe to use.
How to hang samples in the xenon lamp aging test chamber?
First, choose to hang the location
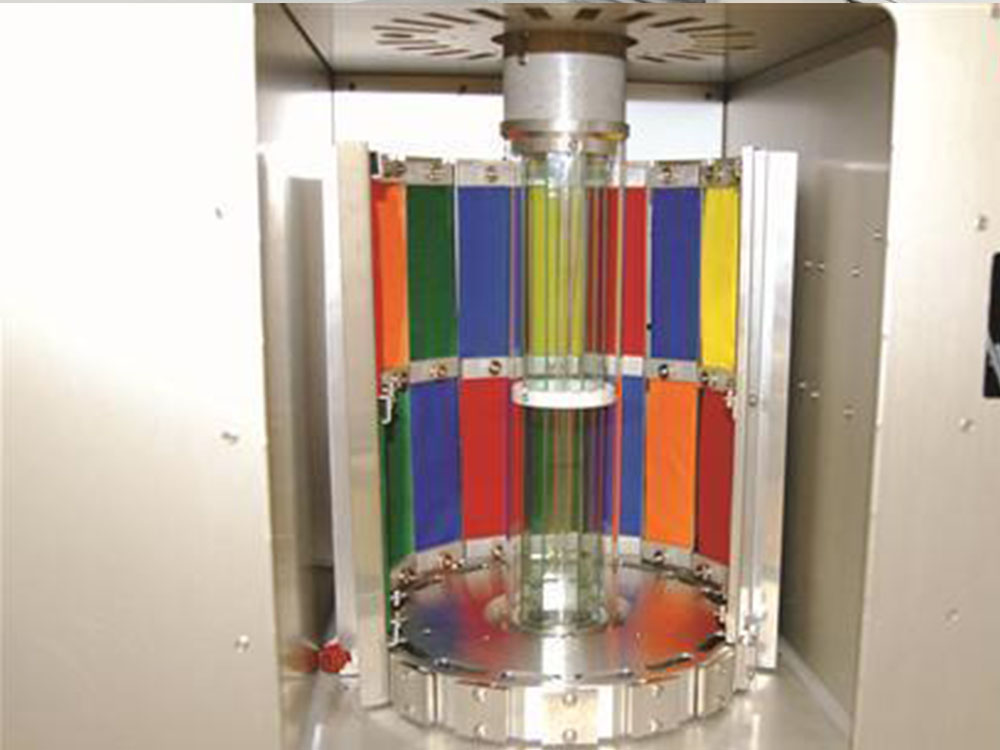
Before hanging the sample, you need to choose a suitable location to hang. Usually, I choose to hang in the test box’s central position. This ensures the sample is fully exposed to the xenon lamp. It makes the results more accurate.
Second, prepare the sample
Hanging samples need to prepare the sample. Then, check if it meets the test requirements. Finally, process and label it per the test requirements.
Hanging samples
1. Select the appropriate hanging method
You can choose a different way of hanging based on the sample’s traits and the test’s needs. Clamps, hooks, etc. will hold the sample in the right position, or the support will place the sample in the test box.
2. Fixing the sample position
Fix the sample in the test chamber. It must not move or fall during the experiment. This would distort the test results.
3. Avoid the protection area
When hanging the sample, you need to avoid the protective area in the test chamber to ensure safety. Also, the test chamber’s different models may need brackets or locks. They ensure safe experiments.
4. Start the experiment
After hanging the samples, test them per the experiment’s requirements. Watch the samples during the test. Adjust the experimental parameters as needed to get the best results.
For more environmental test chamber, Please visit: https://chiuventionclimatechamber.com
For more environmental test simulation programmes,environmental testing knowledge, instrument knowledge, and environmental testing laboratory knowledge, please contact us: [email protected]


